Using your personal artwork on footwear is absolutely possible, but it involves three checkpoints: technical print limits, intellectual-property rules, and production workflows. This guide explains each step so your design reaches the street (and your customers) without quality issues or legal headaches.
1. File Requirements and Resolution Basics
Vector first. Upload designs as SVG, AI, or EPS whenever possible. Vectors scale without blurring, a must for crisp lines on curved toe caps and sidewalls.
Pixel fallback. If you work in pixels (PNG, TIFF, PSD), export at 300 DPI and size the canvas to the largest printable panel—usually 35 cm × 25 cm for a men’s US 12 sidewall. Anything smaller risks pixelation when stretched over a bigger size run.
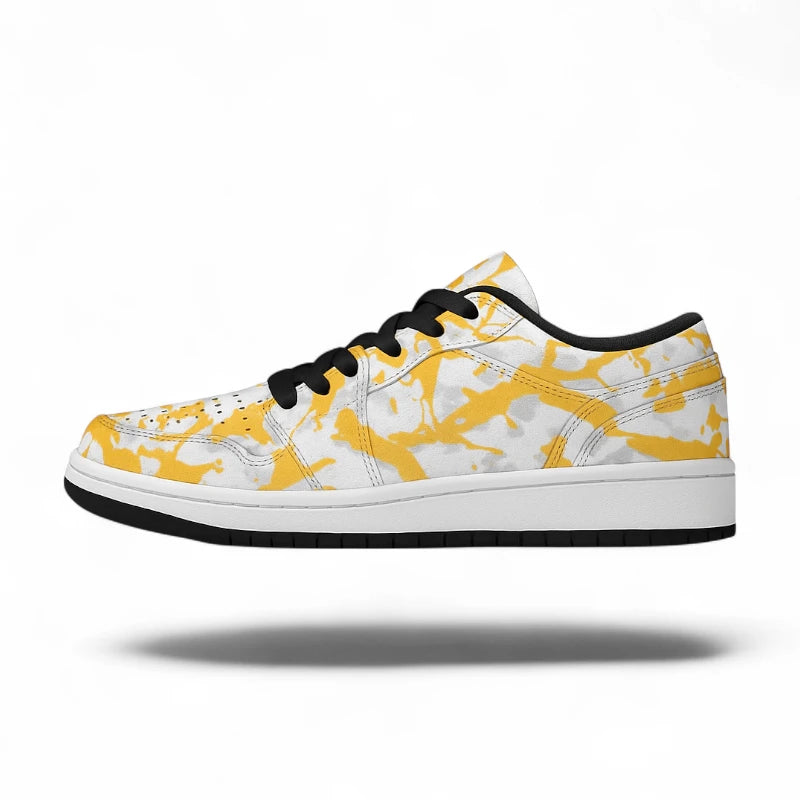
Safe zones. Every mock-up from Custom Shoe shows bleed and trim lines. Keep essential elements—logos, text, signature—in the safe zone. Panels wrap around edges and may tuck under the outsole foxing.
2. Color Management
Most factories use CMYK or six-color UV inks. Bright RGB swatches on screen are often dull when converted. Export design files with an embedded CMYK profile (Coated FOGRA39 or US Web Coated SWOP) to preserve closest matches. Run a proof print on coated paper first—cheap insurance against mis-matched tones.
3. Intellectual-Property Reality Check
Uploading your own illustration of a rose is fine. Uploading the Nike Swoosh, Disney’s Baby Yoda, or the Manchester United crest is not. Two laws matter:
|
IP Area |
Governing Right |
What It Protects |
Key Concern for Custom Shoes |
|
Copyright |
Automatic on creation |
Original artwork, photos, digital illustrations |
Do you own or license the image you are uploading? |
|
Trademark |
Registration or common-law use |
Logos, brand names, distinctive symbols |
Will your design confuse buyers about the shoe’s origin? |
The USPTO defines trademark infringement as any unlicensed use “likely to cause confusion” about a product’s source (USPTO). If you drop a famous logo on a sneaker, confusion is almost guaranteed.
For global projects, remember that many countries also protect industrial designs—the ornamental look of a product—for up to 25 years. WIPO explains that any shape, line, or pattern visible in normal use can receive industrial-design protection (WIPO). Copying a distinctive Gucci monogram onto your canvas upper may violate both trademark and industrial-design rights.
Bottom line: Only upload artwork you created yourself or artwork you licensed with written permission. Public-domain images are safe, but “found on Pinterest” rarely counts as public domain.
4. Recommended Document Trail
-
Original file sources – keep the PSD, AI, or Procreate file with date stamps.
-
License agreements – store PDF copies if you purchased stock vectors or commissioned a freelance illustrator.
-
Release forms – if you use a photographed person’s face, store a signed model release.
-
Project folder – zip everything and back it up to the cloud plus an external drive.
If a brand ever challenges your design, you have the receipts.
5. Matching Design to Shoe Silhouettes
Different silhouettes accept artwork differently:
|
Silhouette |
Prime Print Zones |
Potential Pitfalls |
|
Low-top canvas |
Lateral & medial sidewalls, tongue |
Eyelet row breaks artwork; plan for stitching gaps |
|
High-top |
Extra ankle panel for tall graphics |
Collar padding can distort grids |
|
Runner knit |
Knitted pattern in upper fabric itself |
Each color adds knitting complexity and cost |
|
Leather court shoe |
Laser-engrave or UV print on quarter panel |
Leather grain may soften fine details |
6. Choosing the Right Printing Method
|
Method |
Best For |
Color Limit |
Durability |
Notes |
|
Direct-to-garment (DTG) on canvas |
Photographic detail |
Millions |
Good |
Works only on fabric uppers |
|
UV digital printing on leather |
Logos, vector graphics |
Full |
Very good |
Needs surface prep; slight chemical smell dissipates |
|
Sublimation on knit panels |
All-over gradients |
Full |
Excellent |
Only on polyester knits; whites stay white inside shoe |
|
Embroidery patches |
Small crests or initials |
Up to 12 |
Excellent |
Adds texture and premium feel |
|
Laser engraving |
Outline art on natural leather |
Monochrome |
Permanent |
Fine lines only; no color |
Factor production minimums. UV print and sublimation accept one pair at a time, but embroidery often needs six pairs for machine efficiency.
7. File Prep Checklist Before Upload
-
Vector artwork: expand strokes and outline fonts.
-
Raster artwork: 300 DPI minimum, flattened, no hidden layers.
-
Background: transparent unless you need a colored rectangle.
-
Naming convention: “Lastname_SneakerPanel_Date_v1.ai”. Clear names speed factory checks.
-
Proof thumbnail: attach a small JPEG in the same folder so QC teams see what the end result should resemble.
8. Color Test Swatch
If exact brand colors matter, order a one-piece color swatch sample first—an inexpensive print on the actual material. Approve that, then green-light the full run. It prevents large, costly redo orders.
9. Quality Control Once Samples Arrive
-
Stitch alignment – design shouldn’t drift more than 1 mm from mock-up lines.
-
Color accuracy – use a Pantone deck under daylight bulbs to verify.
-
Edge fade – inspect gradients for banding or sudden tone jumps.
-
Print rub test – wipe with a damp microfiber cloth; inks must not lift.
Log pass/fail results in a spreadsheet for later manufacturing runs.
10. Reusing the Same Artwork on Multiple Models
You can port artwork onto other silhouettes, but edit proportions:
-
Scale design to each size curve: women’s US 6 and men’s US 13 need different artwork widths.
-
Realign safe zones – ankle-high panels on boots differ from low-top quarters.
-
Update bleed lines – rubber foxing height varies by model.
Check other silhouettes in the Custom Boots or the Custom high tops to see real-world panel shapes.
11. Pricing Considerations
Custom printing adds unit cost: DTG about $9 extra per pair, UV print up to $15 depending on coverage, embroidery patches around $3 each. Large designs can also slow factory throughput, so build slightly longer lead times (two weeks more for multi-color embroidery, five days more for all-over prints).
12. Drop-Shipping Logistics
If you run a just-in-time business model:
-
Sync your store to production order triggers.
-
Pre-approve at least one universal design variant (monochrome logo or blank) to avoid delays when a buyer’s artwork fails QC.
-
Set clear store policies on copyright liability—make buyers confirm they own uploaded art.
13. Legal FAQs
Q: My customer sends a famous cartoon character—can I print it if it’s for “personal use”?
A: No. Once you sell or ship, you’re commercial. You need permission.
Q: What about parody?
A: Parody is a narrow defense. It often fails if your design competes with the original brand’s products or causes confusion.
Q: If I redraw an NBA logo by hand, is that safe?
A: Probably not. Trademark law protects against confusingly similar marks. Altering a logo slightly rarely escapes infringement.
14. Protecting Your Own Artwork
-
Watermark preliminary sketches before sharing with factories.
-
Submit key designs to a copyright office in your home country where registration is optional but strengthens legal claims.
-
Add a small ® or ™ symbol if you plan to pursue trademark status for a new emblem.
15. Efficient Workflow Timeline
|
Day |
Milestone |
|
0 |
Finalize design, confirm license eligibility |
|
1 |
Upload vector/PDF, select print method |
|
3 |
Receive digital mock-up from Custom Shoe QC |
|
4 |
Approve mock-up or request tweaks |
|
10 |
Factory prints first sample pair |
|
13 |
You inspect sample, request minor edits |
|
20 |
Full batch enters production |
|
35 |
Batch ships out |
Total: roughly five weeks from upload to door for an average run of 50 pairs.
16. Summary – Yes, You Can Use Your Own Artwork, If You Own It
Personal designs, original photography, or licensed graphics can appear on your sneakers with minimal friction when you:
-
Confirm intellectual-property ownership or permission.
-
Provide high-resolution vector or 300 DPI raster files.
-
Respect safe zones and panel curves in the mock-up.
-
Choose a print method that matches material and coverage.
-
Run a sample and quality-check before full production.